It was my coworkers birthday last weekend and I can't go without making a special treat! The most wonderful treats are filled with amazing chocolatey flavor. Wanting to skip the extreme calorie laden sweets, I searched for a delicious alternative.  Chocolate Covered Strawberry Muffins @ fanaticallyfitphenomenon These were a great hit and I was so excited!! They smell positively delicious and are a delicious chocolate flavor. DEFINITELY put these in the fridge!! I made the mistake of leaving them in the cupcake carrier and they got moldy. The Birthday Boy was about 2 days late and I was mortified when my boss picked up a moldy cupcake only 2 days later! That said, don't chance it, stick these in the fridge right away!!! 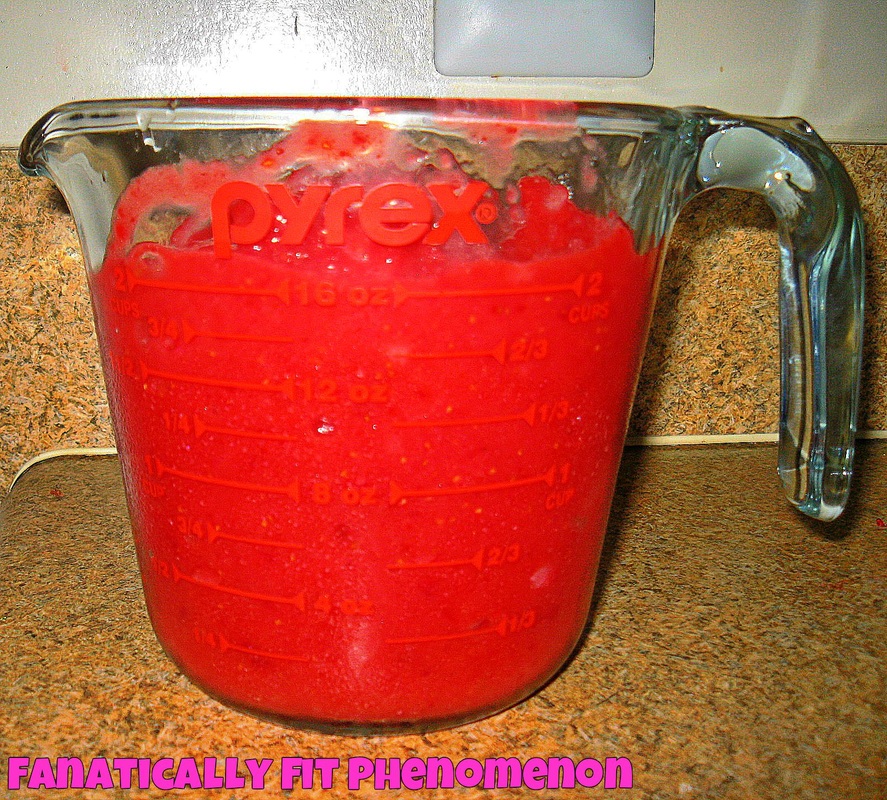 Chocolate Covered Strawberry Muffins @ fanaticallyfitphenomenon |
You will need 2 full cups of strawberry puree. I used about 3.5-4 cups of frozen strawberries. I do not have a fantastic blender so this step took a while!! I used about 1/4-1/3 cup of water to puree the strawberries.
| |
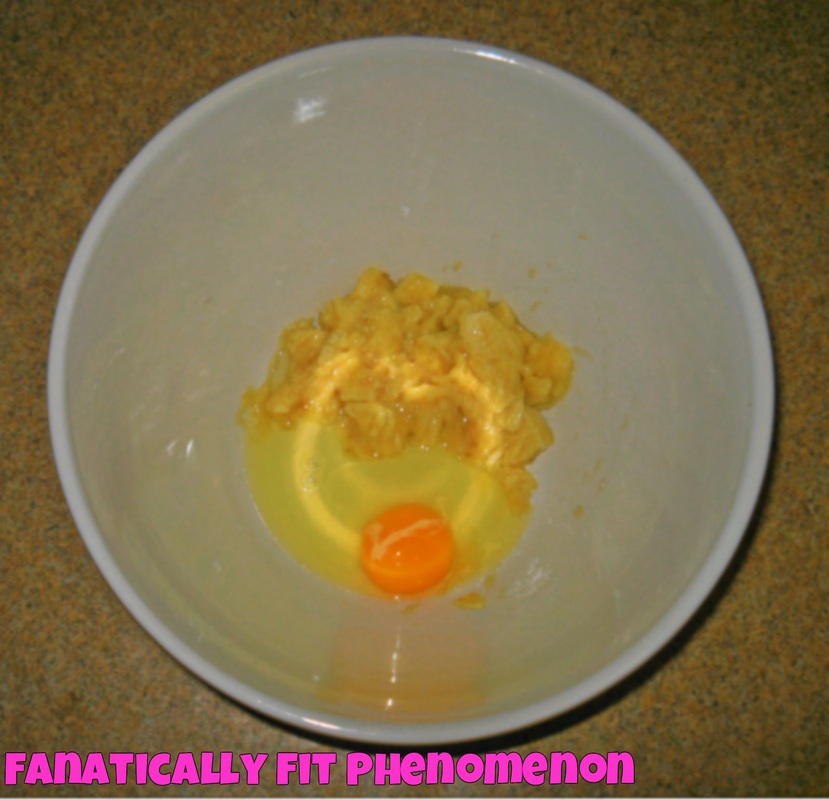
Mash a ripe banana with a fork in the bottom of the bowl. Crack one egg into the bowl with it.
|  Chocolate Covered Strawberry Muffins @ fanaticallyfitphenomenon | 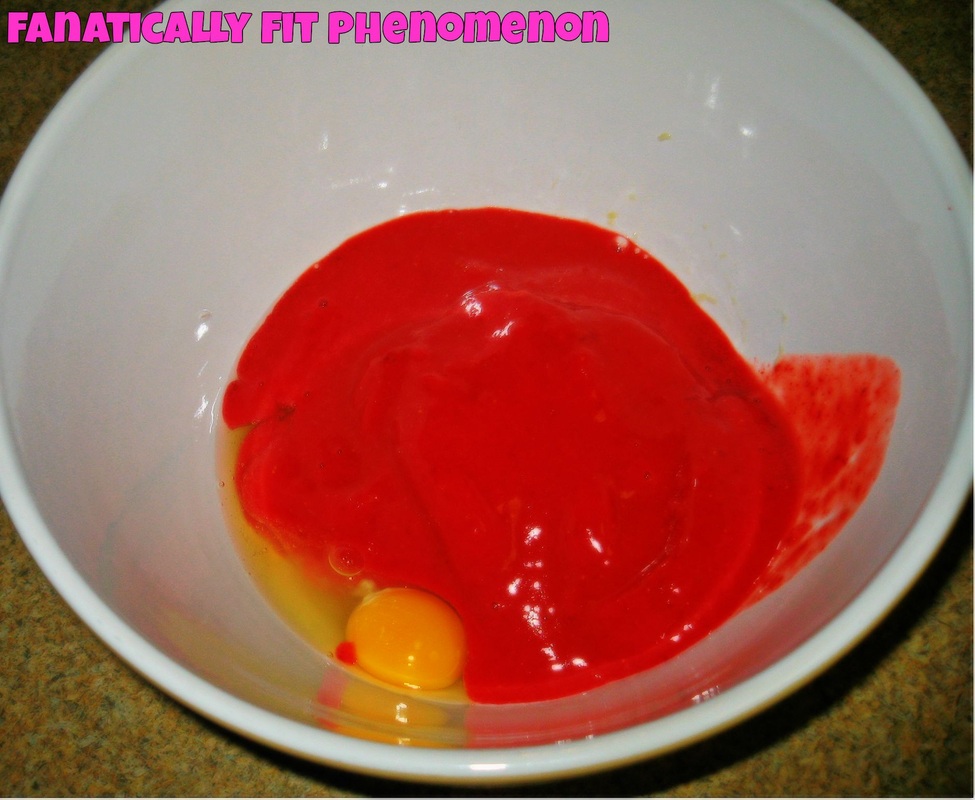 Chocolate Covered Strawberry Muffins @ fanaticallyfitphenomenon |
Add the strawberry puree to the egg and banana. Mix these wet ingredients well. I did not picture the water here but that should be included in this step!
*I did not pay attention to directions and forgot to mix wet ingredients first! They still turned out well but do not forget this step for a better consistency =)
| |
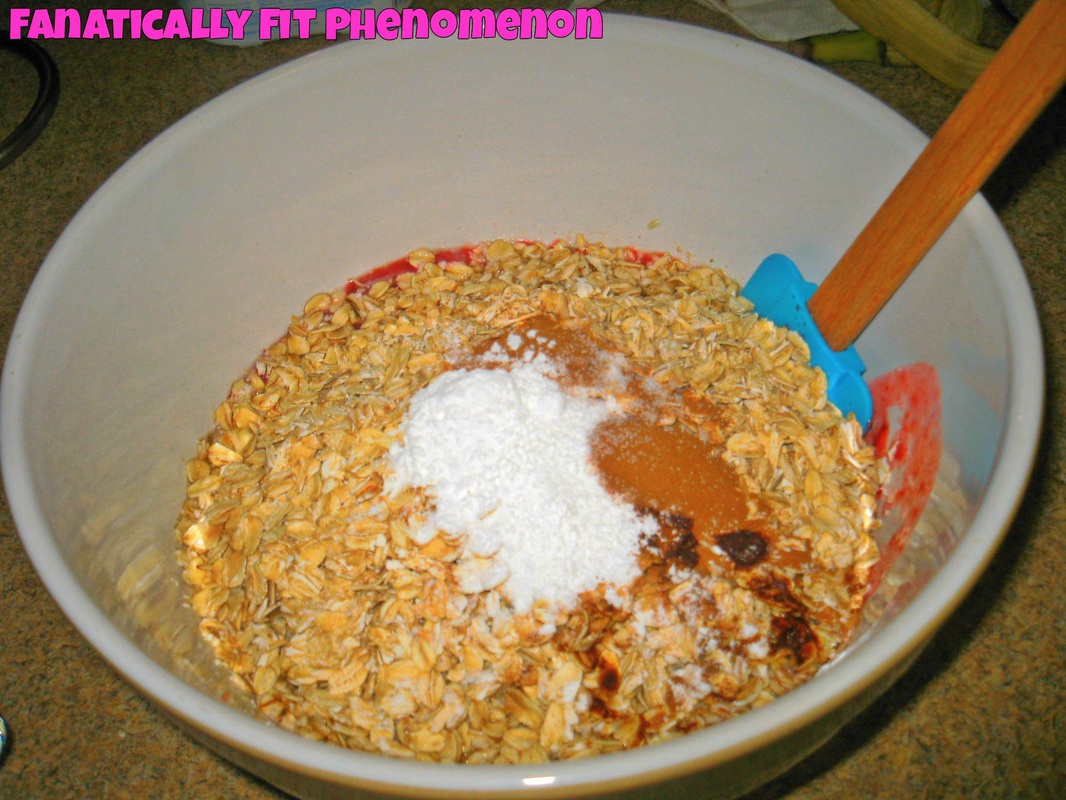
After mixing the wet ingredients, pour in the oats, cinnamon, backing powder, and vanilla.
|  Chocolate Covered Strawberry Muffins @ fanaticallyfitphenomenon | 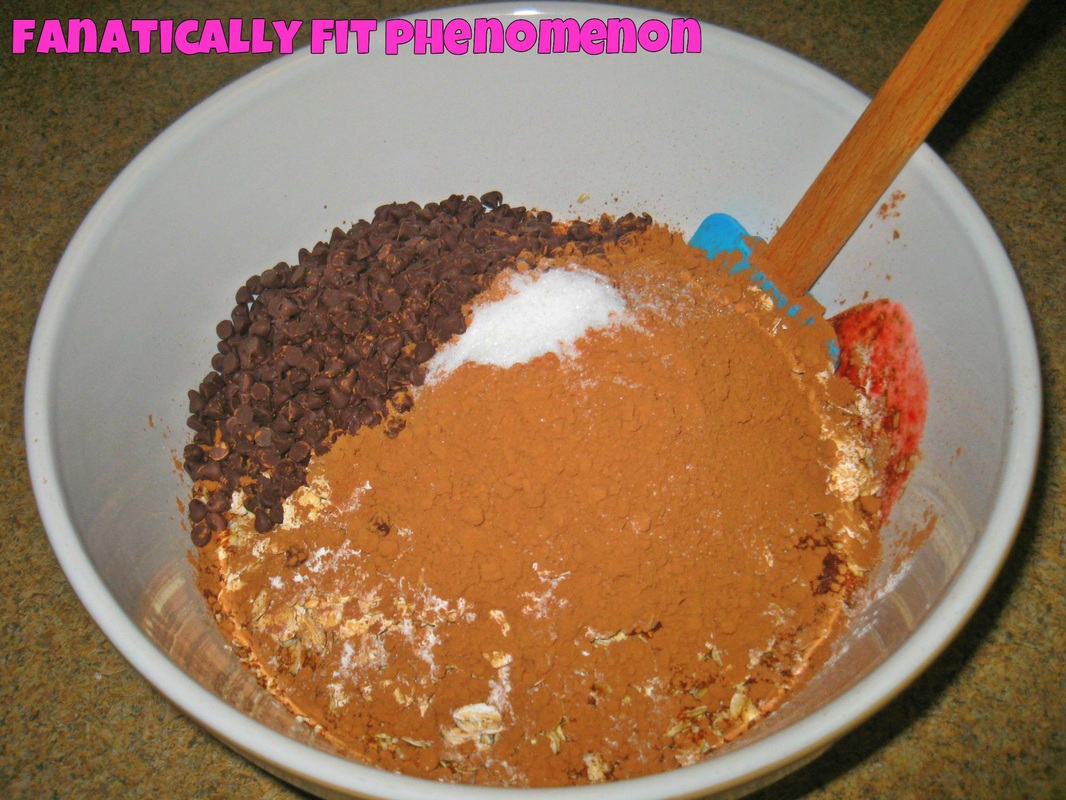 Chocolate Covered Strawberry Muffins @ fanaticallyfitphenomenon |
Add cocoa powder, salt, and chocolate chips! Mix the dry ingredients with the wet ingredients well.
| 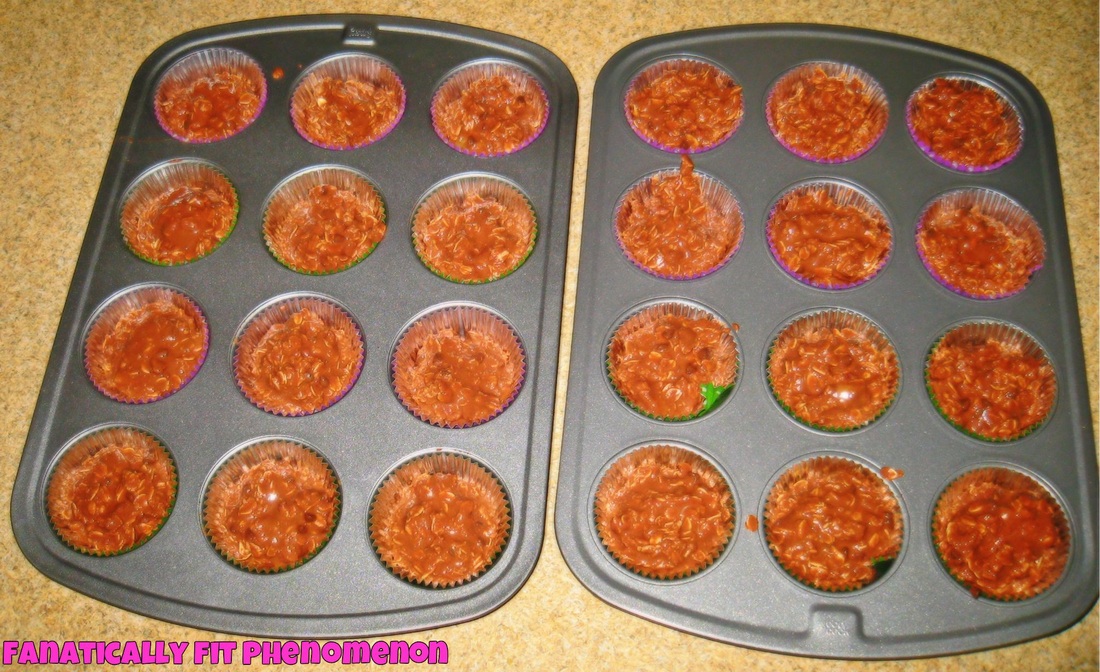 Chocolate Covered Strawberry Muffins @ fanaticallyfitphenomenon | 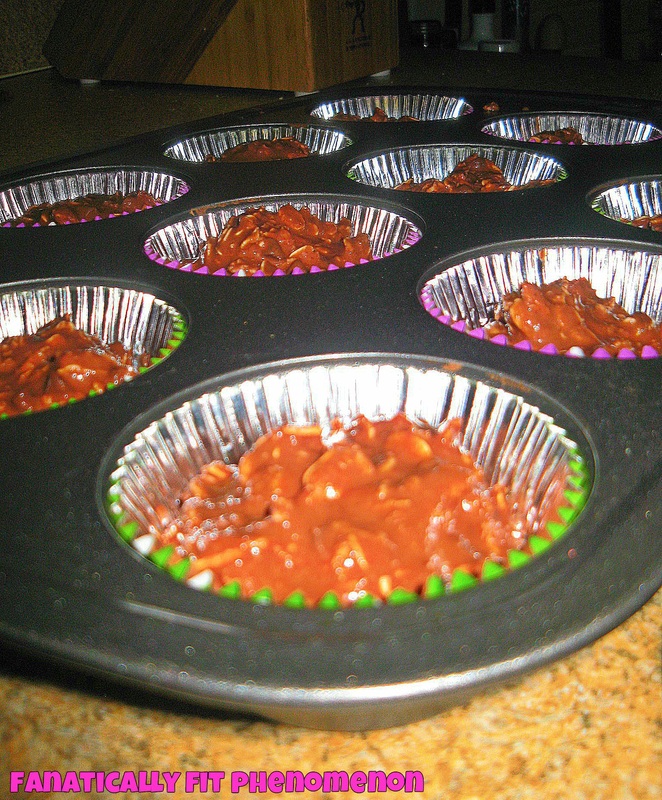 Chocolate Covered Strawberry Muffins @ fanaticallyfitphenomenon | My recipe made 24 cupcakes!! Pop them in the oven, they bake for a while - about 35-40 minutes! |
I put some strawberry cream cheese on it and it is so good! I got this idea from the original recipe and it is delicious! They are yummy alone but the cream cheese really takes it to the next level. |  Chocolate Covered Strawberry Muffins @ fanaticallyfitphenomenon |  Chocolate Covered Strawberry Muffins @ fanaticallyfitphenomenon I revised this recipe from this website! To the right is the nutrition information for my version: | | Chocolate Covered Strawberry MuffinsIngredients:- 1 Egg
- 1 Mashed Banana
- 2 Cups pureed strawberry
- 1 1/2 cup water
- 1 Tsp vanilla extract
- 4 Cups rolled oats
- 2 Teaspoons cinnamon
- 1/2 Cup unsweetened cocoa powder
- 2 Teaspoons baking powder
- Tablespoon sugar (I used only 1 tablespoon but though the muffins could have been a little sweeter!)
- 1/2 cup chocolate chips
Directions:- Preheat oven to 350 degrees
- Mix wet ingredients including fruit -- egg, banana, strawberry puree, water, and vanilla
- Add in dry ingredients -- oats, cinnamon, cocoa powder, baking powder, sugar, and chocolate chips
- Use cupcake liners for 24 cupcakes, distribute batter evenly
- Bake for 35-40 minutes. Store in the fridge and microwave for 30 seconds, enjoy!!!
I would like to start periodically writing reviews for websites, fitness gear, and phone apps.
My first review is completely biased, I have been using My Fitness Pal for several years now and I am in love with it! This is the perfect food and exercise tracker. Every upgrade seems to make this app even better and more user friendly!
I'll start with the online version, I don't use this much but it's a good back up. On the website you can create up to 6 meals to add your food intake throughout the day. You can also set nutrition, caloric, and exercise goals for yourself! The features are similar to the phone app but I find the phone app much more user friendly.
I really can't talk about how much I love the phone app! In a perfect world, I would want anything I eat at a restaurant to be uploaded into the app, but then again a lot of smaller restaurants do not post nutrition information.
The loading screen, so beautiful!
|
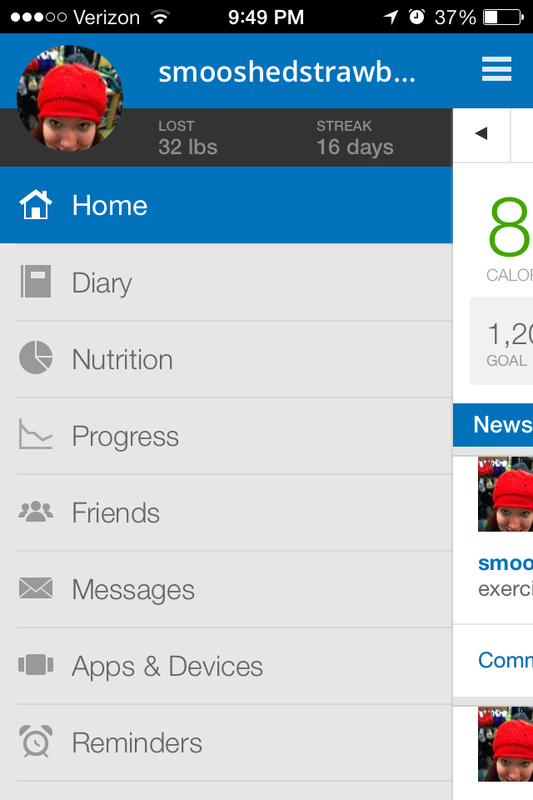
Side menu bar
| Above:
I love the new loading screen, it makes me feel healthier just using the app!
The side menu is easy access to everything you need to do. It is easy to get to the diary, see weight loss progress and create new recipes.
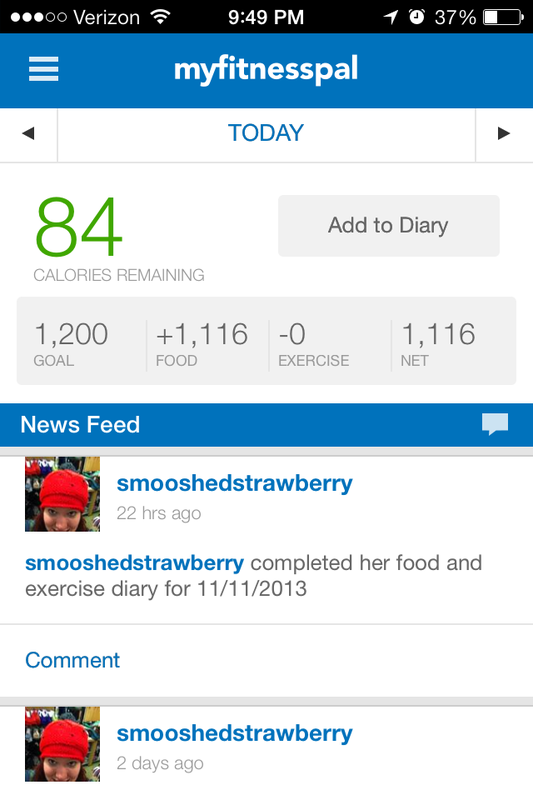
Home screen with calorie/exercise listing and news feed
|
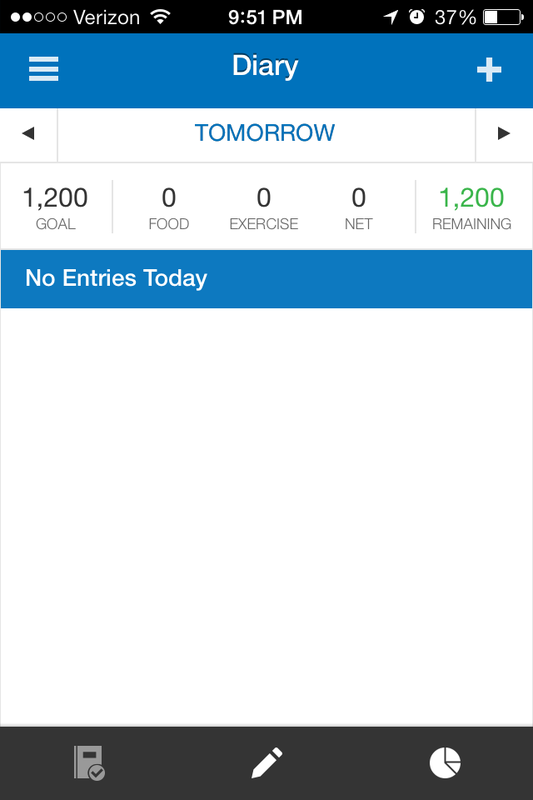
Diary page
| Above:
You are brought to your home page automatically after the app loads. This page gives you a quick snapshot of how your day is so far. Here you can also see how friends are doing if they are using My Fitness Pal (add me @ smooshedstrawberry!!) This is fun because you can see when friends lose weight, are under calorie goals, and when the work out! It is great encouragement.
The main diary page starts out like this. Up top you can see your goal, how many calories you ate, how many you have left, if you are over, and exercise. When you add foods, you can see its nutritional value -> calories, carbs, fat, protein, sodium and more.
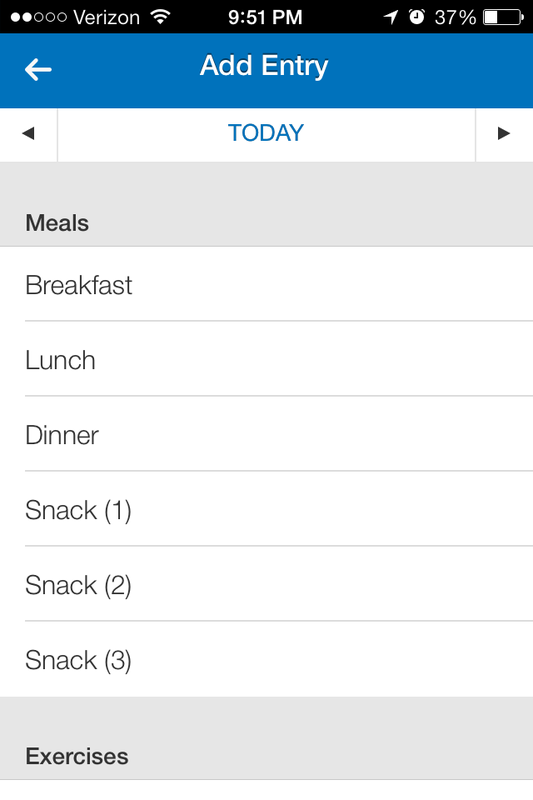
Add food
|
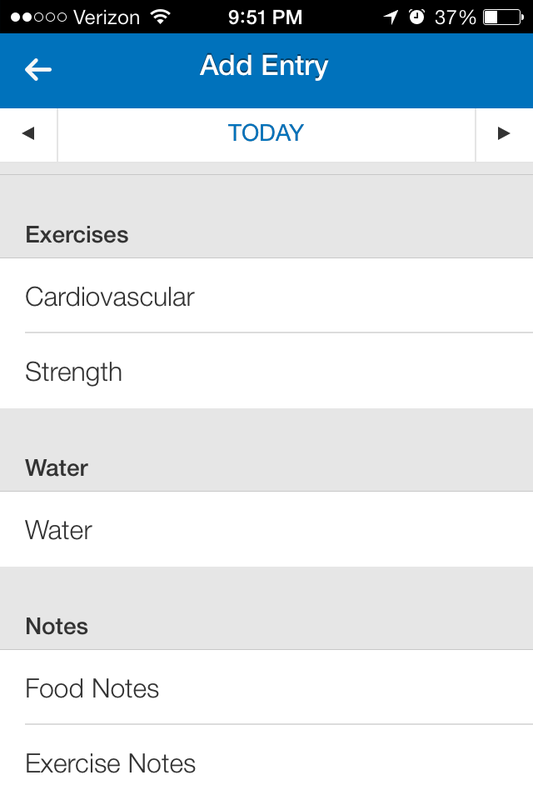
Add exercise
| Above:
After you click the add food, you can choose which meal you want to add to. After clicking on the meal you want, My Fitness Pal remembers all recent and frequently used items for quicker logging. You can also use the barcode function at the bottom to scan your foods. This is a newer feature and I LOVE it!! It has a huge database and has so far found everything I have scanned into my diary.
Scroll down on the same page and you can add exercise and notes about the day. If I can't find the exact exercise I did during my work out, I pick the closest one and adjust the amount of calories I burned. Under the strength section, you can track how many reps you did at what weight to see progress!
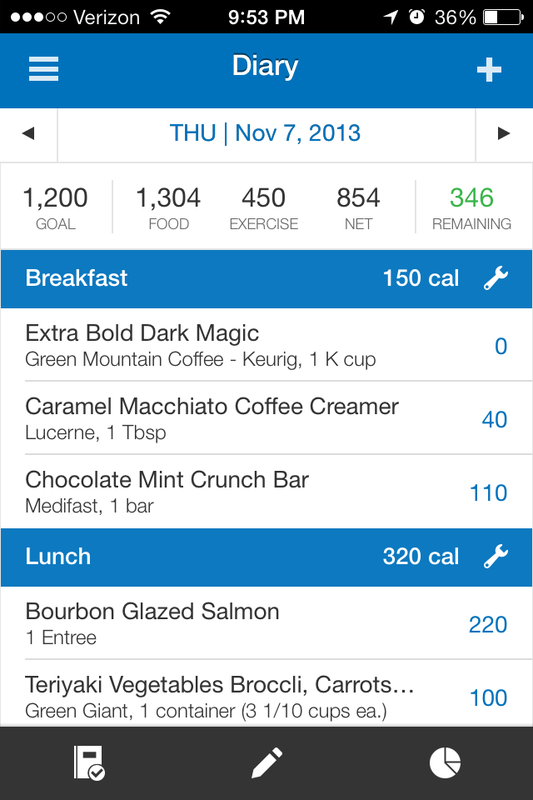
Diary home page
|
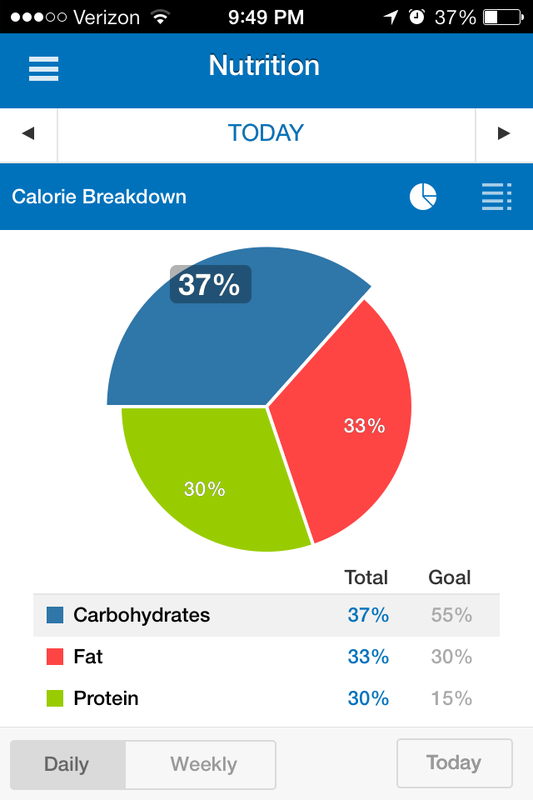
Breakdown of nutrition percentages for the day
| Above:
This is what your Diary looks like at the end of the day! You can easily delete things by choosing the edit function and selecting what you want to get rid of. When you are done logging, scroll to the bottom and click finish entry. This function will also tell you your projected weight in 5 weeks if you ate and exercised the same way every day.
The breakdown shows your percentage goals and what you actually ate that day. This is great if you are trying to watch fat, limit carbs, or eat protein!
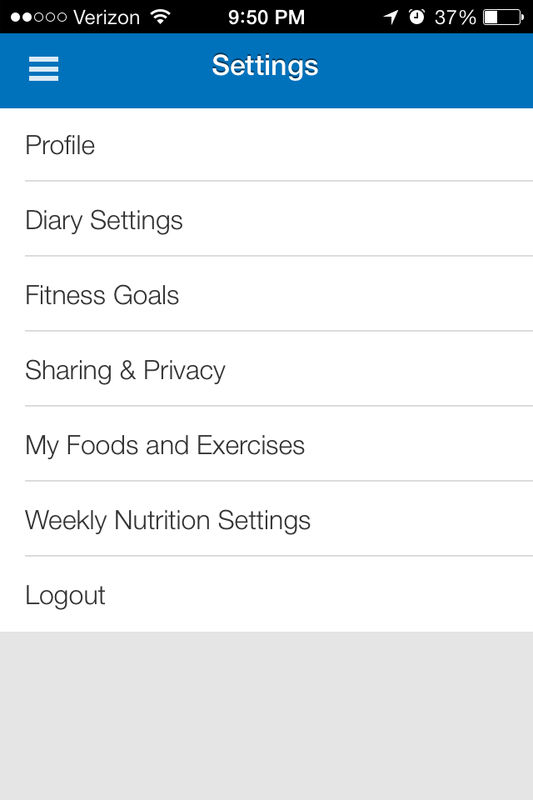
App setting
|
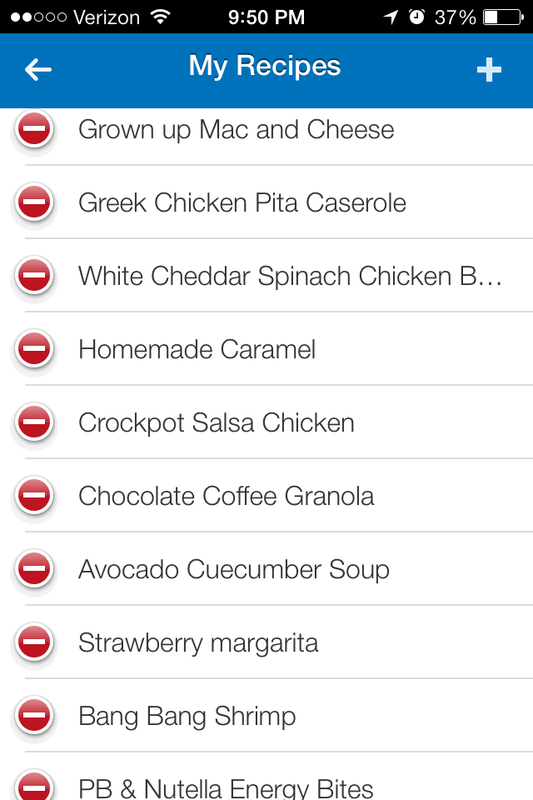
Recipe edit/add page
| Above:
Under the settings you can change and modify your goals. Here you can create new recipes. This is one of the only things I do not like about this app. You have to click through several screens to create a recipe, I just with it was on the side menu bar!
The recipe section allows you to store as many recipes as you want. Create them, delete them, modify, or just review them! When you are in your diary, there is a section just for your recipes for quick finding! There are tons of other great apps out there but the most important thing is to find one that works for you!! I would rate this app 4.5 overall. It is visually please, easy to learn, easy to use, and developers are constantly striving to make it better.
Do you have a favorite app? Any apps or products you want to know more about?
My dad is a Marathon runner. About 2 years ago, I wanted to start running and surprise him with a 5K for his birthday! I had no idea what I was getting myself into. At that point, I was 30 something pounds heavier and I didn't exercise. In my mind I thought it would be easy peasy to start running and get down to and 8 minute mile in no time.
How wrong I was!!
Last night I was EXCITED to do my 3 miles in under 34 minutes. That makes me almost embarrassed to admit. After sharing my frustration, dad told me that any improvement in time is something to be proud of!
Unfortunately, my 5 day gap since my last run and my push to go fast left me feeling stiff and sore. My hip flexors have been achy and weak all morning and it is not fun. For anyone trying to run better, faster, and longer I caution you to be careful! I am lucky to not be injured but I wouldn't want anyone else to have to feel this sore all day =/ Now the fun stuff!!
I am trying to do better about planning meals throughout the week. This is very difficult for me as Daniel and I are both impulsive and extremely new to meal planning. It has been a big challenge but we are finding some super yummy ideas along the way!!
Before we moved in together, Daniel went to Costco and bought a ton of stuff for his last house. Needless to say, he had about a million boxed, canned, and frozen items left over We started out the year with what seemed like a hundred boxes of Kraft Macaroni and Cheese. Normally, I could easily eat a half a box of prepared Kraft Mac and Cheese! I just can't get enough mac and cheese, but who can really? I decided if I was going to keep eating this I needed to figure out a way to make it healthier.

Sorry for all the blur! I am not great with pictures but will work on this as time goes on =)
This recipe is SUPER easy to make and can be used with any boxed (or homemade!) macaroni and cheese. I would not say this is the healthiest dish but it is a heck of a lot better than the original. With some creativity, I imagine you could make this even healthier! Once we run out of our Kraft Mac (we only have about 5 boxes left!) I will try this recipe with a different pasta that packs a little more nutrition. Maybe whole wheat and healthier cheese? |
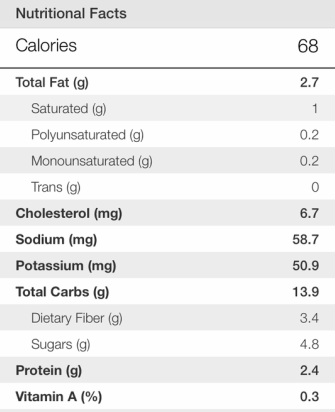
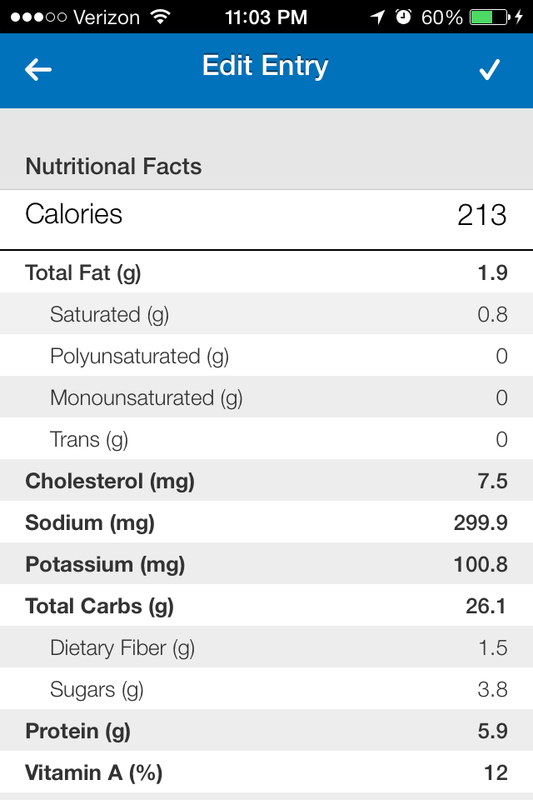
This version of Grown Up Mac and Cheese is really not nutritionally horrible. This recipe made 6 servings which I guesstimated in size. This is not the best method but I would say one serving is about 1 cup. Next time I make it I promise to measure it responsibly =)
I added 1/4 of an avocado on top of my bowl which was scrumptious! Get creative with toppings, Daniel added bacon to his ;) The avocado would add 63 calories, 3g carbs, 6g fat, and 1g protein.
| |
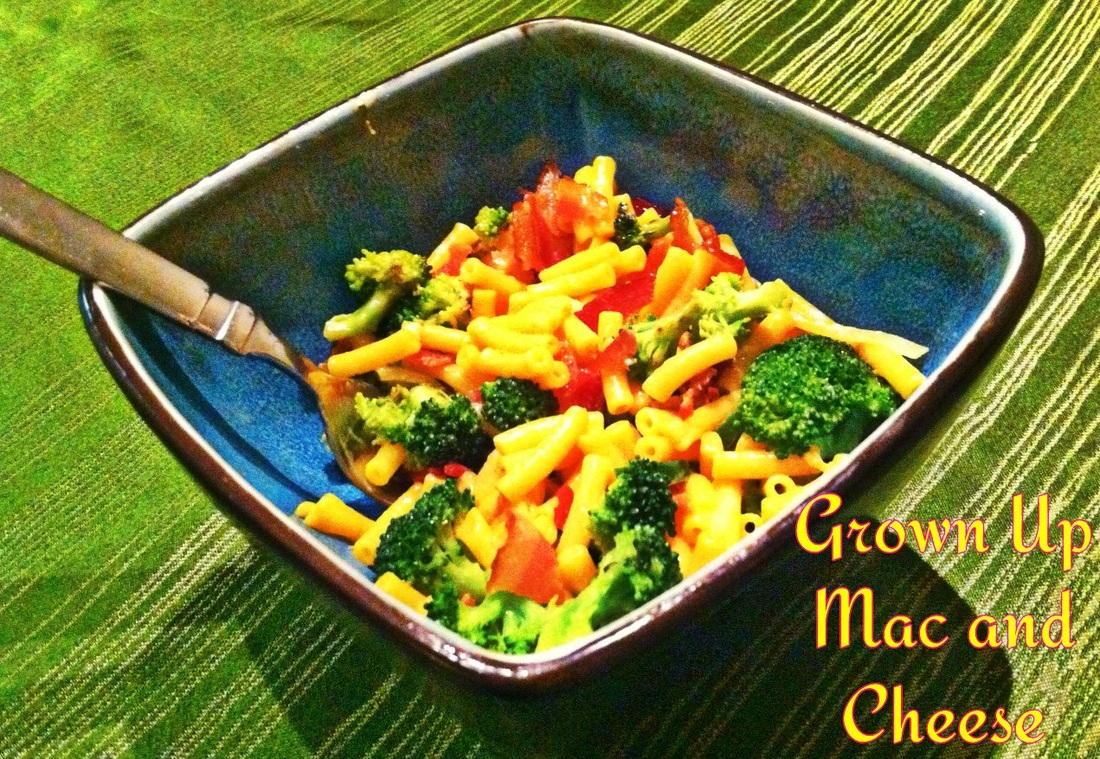
Daniel's bacon version
Grown-Up Mac and CheeseIngredients:- 1 box of macaroni and cheese, your choice (nutrition will vary)
- 1 head of broccoli, about 2.5-3 cups chopped
- 1 jalapeño
- 1/2 onion
Directions:- Prepare macaroni and cheese according to the box
- While the macaroni is cooking, chop broccoli, onion, and jalapeño (I included the seeds because I love spicy!)
- Lightly coat a large skillet with olive oil or cooking spray. Add the broccoli to the skillet first
- Cook over medium heat for a couple minute, then add the onion and jalapeño
- Complete all steps for your macaroni, add vegetables to the pot and stir until completely incorporated
- Top with any additional toppings and enjoy!
I love this recipe because it makes me feel a lot better for eating macaroni and cheese! There is about 1 serving of vegetables in each portion. Use a smaller bowl, this portion may look a bit small to you but with all the delicious broccoli it should fill you up! Go slow and pair this was a sweet fruit dessert for a beautiful yummy meal.
I would love to hear what everyone thinks!! How did this turn out for you? Did you use a different type of boxed macaroni or different vegetables? Are there any recipe makeovers you'd like to see in the future?
This weekend was my grandmothers 90th birthday! It was great to see family and I got the exciting task to bake the cake!! I had lots of fun baking but I have a fair amount of trouble with the fudge icing. I would definitely say that while the recipe tastes super delicious it is probably does better with a one layer cake. The 3 layers in the caked cause the fudge to drape over the sides with difficulty. In the end, I had a pool of boiling hot fudge all around my cake platter! This is partly my fault since I was focused to much on an even pour on top that I wasn't even looking at the plate!!
This cake was to DIE for but I would not recommend it unless you have a big crowd to feed! You definitely do not want this lying around the house for grabs. I did not calculate the calories but I can only imagine what one slice would be... Building My Plate I can't tell you how many times a day I struggle with portions! Portions vary from product to product, restaurant to restaurant, and person to person. On top of everything small, medium, large, and party size exist! Bigger sizes cost only cents more and it only makes sense to get the bigger size right? Getting used to the enormous servings can skew the food you serve for yourself. Choose My Plate is a phenomenal website with amazing resources. A balanced plate sets the right tone for healthy eating. Choose My Plate outlines healthy guidelines for well-rounded meals.Half of your plate should consist of fruits and vegetables. The other half should consist of protein and grains. A great way to round out the meal is a serving of dairy. If you are having trouble with portion control, try these tips: use smaller dishes, take smaller portions first and get more if you are still hungry, pre-package your portions, and use the below visuals! Portions
Portions vary from food to food; there are some general guidelines to help keep you on track.
Fruit: In general, one piece of medium or small fruit is one serving. ½ a cup of berries or melon is also a serving.
Vegetables: Leafy greens should equal one cup. Most other vegetables such as zucchini, broccoli, corn, carrots, and beans (legumes) are ½ a cup. I medium potato is a serving
Grains: are split into 2 categories of refined and whole grains. Some examples of portions include ½ cup brown rice; 1-cup whole-wheat cereal; 1 slice whole wheat bread; 1 8inch flour tortilla; and 1 cup of white rice.
Protein: Portions vary vastly on the type. Proteins include nuts, meat, eggs, beans, seafood and soy products. Portions range from 3oz chicken breast; 5oz beef steak strip; 8oz salmon; 2oz shrimp; 1oz nuts; to ½ cup beans.
Dairy: Example portions of dairy include 8oz of milk or yogurt; 1/3-cup cheddar cheese; 2 slices Swiss cheese; and ½ cup frozen yogurt.
|
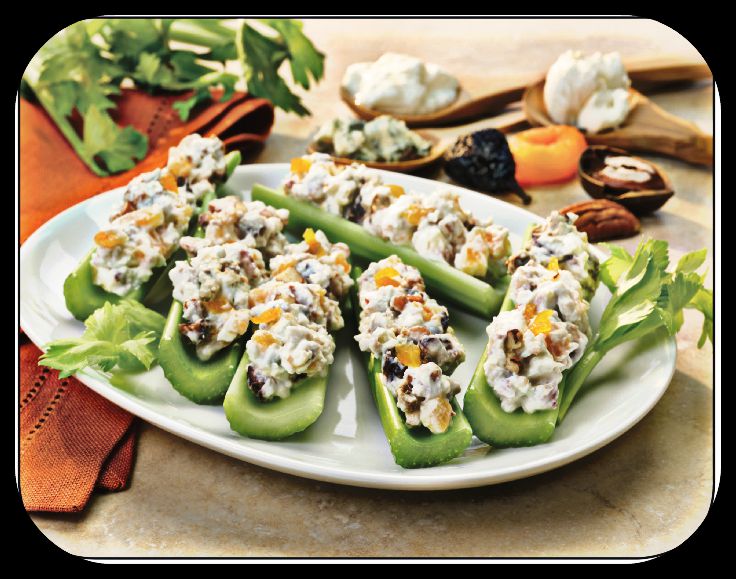
| Celery with Apricot Blue Cheese Spread
Here is a yummy snack idea from Choose My Plate!Serves 4Ingredients:- 8 celery stalks
- 2 tbs crumbled blue cheese
- 3 tbs fat-free cream cheese
- ½ cup fat-free plain yogurt
- 4 dried apricots
- 4 dried figs or dates
- ¼ cup pecans
Directions: - Chop dried fruit and pecans
- Mix blue cheese, cream cheese, and yogurt until smooth
- Stir in chopped dried fruit and pecans
- Slice celery stalks into 3-4 inch sticks
- Fill celery with spread; refrigerate any leftovers
| | Thanks for stopping by today!! I hope that cake wasn't too terribly tempting =)
I'd love to hear any struggles, questions, tips, or comments for portion control! How do you keep your portions in check? What is the hardest part of keeping portions true to size?
Have a great week!
This chicken recipe is crazy delicious and ridiculously easy!!!! You MUST have a crock pot. They are the best things on the planet. I discovered mine recently and it is amazing. Crock pots help you crew cheap, easy, delicious meals that will last for many leftover meals. I found this recipe on Pinerest but the link is dead so I don't know who to credit. TRUST me that you have to give this a shot!! Here is my take on it! Crock Pot Salsa Chicken Ingredients: - 6 Boneless, skinless chicken breast
- 1 envelope taco seasoning
- 1 jar of salsa (homemade recipe below!!)
Directions: - Place chicken breast into crock pot
- Pour salsa and taco seasoning on and give it a stir
- Cook on low for 6-8 hours. About 1 hour before the chicken is done, use 2 forks to shred the chicken. It will come apart easily but you will have to dig deep in the pot to get all the big chunks
- let cook another 30-60 mins on low for chicken to keep absorbing flavor
- Serve with low calorie/carb taco shells, on a bed of lettuce, in a lettuce wrap, with beans and brown rice, and so many more options!
| | Salsa Del Mason I call this Salsa Del Mason because you need to store it in mason jars since it makes so much! Like the chicken recipe above this salsa is stupid easy to make. It is amazingly delicious, super customizable and will last forever! The first time me and my boyfriend made it, the salsa actually disappeared really quickly but TECHNICALLY it should last!! 1 mason jar of this salsa will be PLENTY for the crock pot recipe above. I have never made the chicken with this salsa recipe and I think 1 mason jar may actually be a little too much. If you try these recipes together let me know!! | ***NOTE: This recipe gets hotter the longer it stays in the fridge! I was shocked after I made my second batch. We went through it a lot slower and the heat took me completely by surprise when I started the second mason jar. Still delicious but it should be noted!*** | Ingredients:- 1 28oz can whole tomatoes
- 2 10oz cans Rotel - diced tomatoes with green chilies
- 1/2 onion roughly chopped
- Garlic to taste (we used the jarred kind and I throw a big spoonful into each half! I would probably end up using about 2 cloves garlic otherwise)
- 2 Jalapeños with seeds
- 1 teaspoon sugar
- 1/2 teaspoon salt
- 1/2 teaspoon cumin
- Cilantro to taste - I rip up a small handful of the leaves for each half
- Juice of 1 lime
Directions:
- This salsa needs to be made in 2 batches if you have a regular sized blender
- Put 1/2 portion of all ingredients into blend and blend until desired consistency is reached
- I only blend for a few seconds, I like the salsa not too soupy but not super chunky!
- Pour into mason jar or other container and repeat with remaining ingredients!
- Refrigerate before serving for about an hour
| I hope you enjoyed the recipes today!! Do you have any favorite crock pot recipes?
I am the head of the Biggest Loser competition at work! I will use this as a 2-in-1 to post information on my site. There will be lots of posts during this time since I already have all the information laid out. Feel free to join along at home and challenge yourself! Record your start weight, set goals, track progress, and work towards a healthier existence. The challenge lasts 12 weeks (but we started last week, oops!). Stay focused through the holidays by checking back often =D Starting a diet plan
Deciding on a plan is one of the most important parts of maintaining a healthy lifestyle! You must first pick a strategy – cutting calories, adding more fruits and vegetables, increasing exercise, cutting out processed foods, etc... or a combination. You may decide to start everything at once or gradually change habits over time. Writing out your strategy will ensure you stick to it! This will also help organize your thoughts and re-strategize as you find out what works best.
|
| Setting Goals
Plan to make SMART goals:
Specific
Measurable
Attainable
Relevant
Time sensitive
Specific goals include all the details – what, where, when, how, why.
Measurable ensure you can see progress – pounds lost, minutes exercised, servings of vegetables eaten, or # of days exercised.
Attainable goals should be realistic. You can dream big but ensure it’s something that you can achieve so you aren’t let down!
Relevant goals apply to this competition – weight lost and healthy lifestyles.
Times sensitive goals create a time limit for motivation and progression.
Create goals using these guidelines. You should set goals each week. Decide upon your final goal and then make small goals to help you get there!
| | Keep a journal, calendar, word document, note in your phone etc… with all of the information in this post! Track weight, exercise, feelings, goals, progress, challenges, successes and so much more! Writing things down allows you to take a step back and sort things out. Start one today!! | | Tracking
Tracking can be utilized in several different ways:
· Food journals aid in weight loss and maintenance. They show you the good and bad, what works and what doesn’t work, habits, cravings, and calorie intake. I encourage you to start one today!
· Weight tracking 1-2 times a week keeps you focused. Any more than this is not recommended because weight fluctuates from day to day.
· Tracking exercise can help set goals. You can write down time, activities or weight lifted to see progression
· Journaling cravings, feelings, thoughts, and ideas will help find overall patterns. This will serve to identify cravings, strategies, and problem areas.
Use these tools to start your diet plan! The best way to handle this is to write everything out and review it often. Your goals should always be chaining and morphing as you get better and learn what strategies work best.
Share your ideas, thoughts, and progress with me! What are some of the biggest challenges and how can you overcome them? What goals have you set to achieve over the month of November?
Have a great week!!!
|










 RSS Feed